
Installing a New Deadbolt in a Pickering Home
If you are installing a new deadbolt in your Pickering home, the safest approach is to swap the old lock for a correctly sized residential deadbolt that fits the door’s existing boreholes. If the door, frame, lock alignment, or key control is damaged or nonstandard, stop before drilling. A deadbolt that fits the product photo can still bind against a shifted frame, leave weak wood behind the strike, or fail to protect the door properly.
Real dispatcher answersOpen every day, 7 AM to 10:30 PM
Choose the deadbolt for the door and the risk
A single-cylinder deadbolt has a key cylinder outside and a thumb turn inside. It suits many houses because you can leave the home quickly from inside without finding a key.
A double-cylinder deadbolt uses a key on both sides. It can limit access through a nearby window, but it also means you need a key to get out, which is a serious problem in a fire or other emergency. Local building rules, household needs, and the door layout matter before you choose one.
Look for a properly sized residential deadbolt with tested performance for the intended door. The lock grade system does not repair a weak door, loose hinges, thin jamb, or short strike screws.
A larger or more expensive lock will not correct poor door prep. If the bolt enters soft trim, the frame is split, or the door shifts under pressure, spend the effort on the door and frame first.
Also check key control. If the old key may still be with a former tenant, contractor, cleaner, or previous owner, plan for a rekey after installation. Rekeying or replacing a lock depends on the condition of the hardware and who may still have access.
Gather tools and protect the door
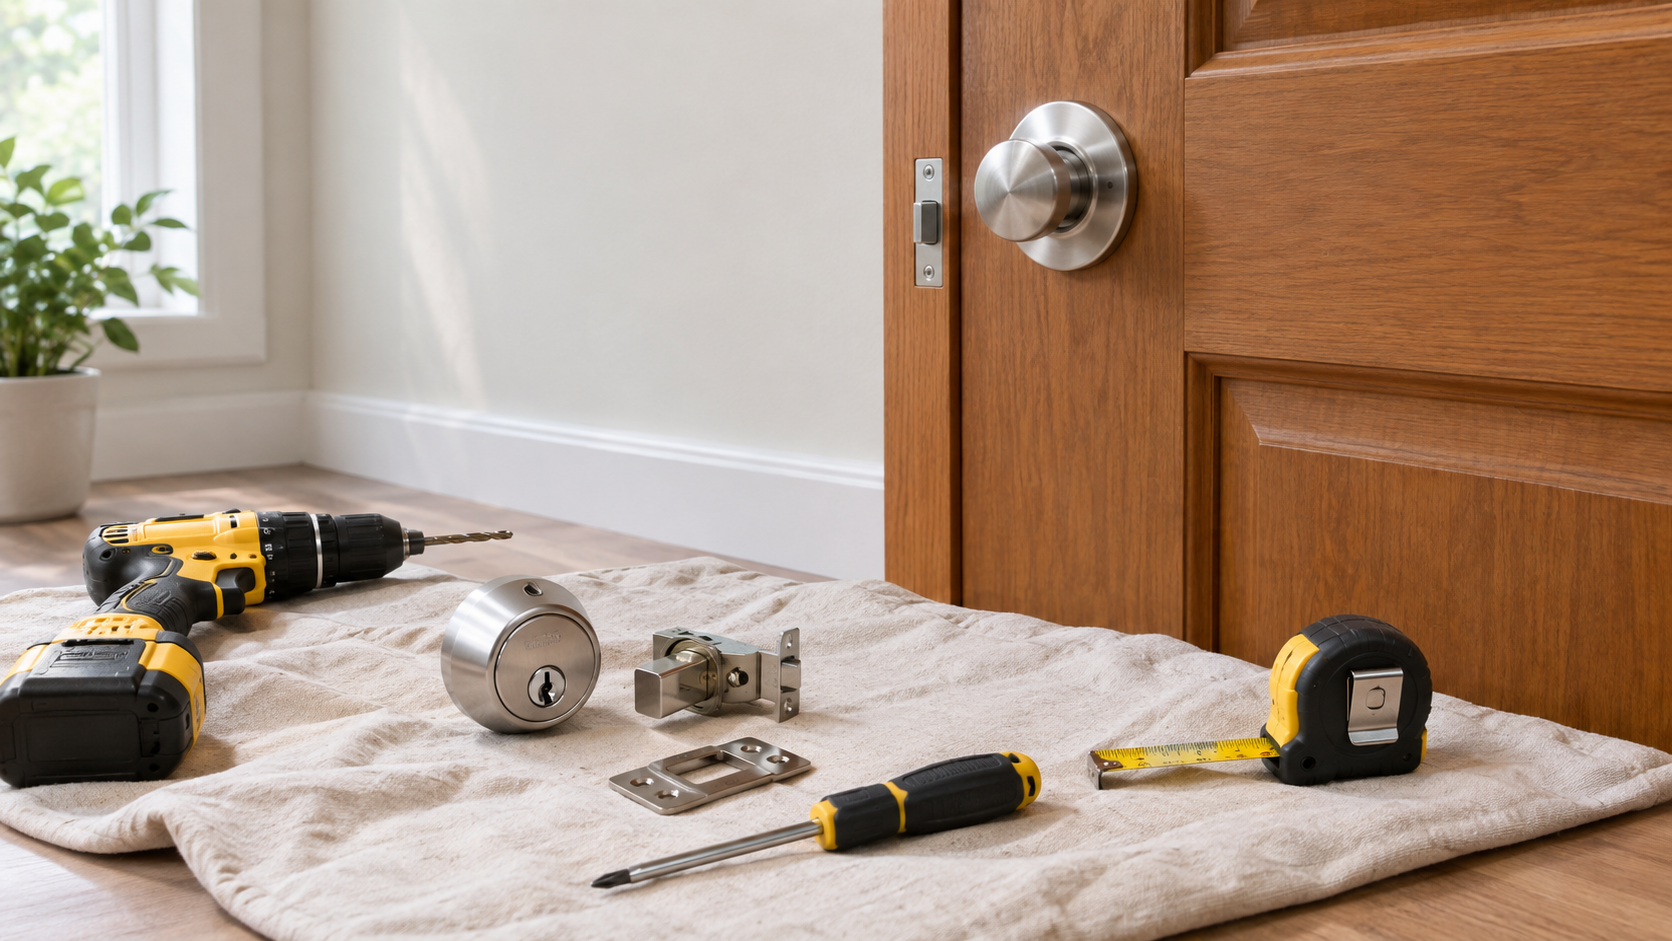
Prepare the parts before removing the old lock. You should have:
Read the installation sheet before drilling. Some deadbolts use a universal latch. Others need a specific orientation or a separate adjustment for the backset.
Place painter's tape around the work area if you must mark or drill the door. Support the lock parts on a cloth so they do not scratch the finish. Keep the screws in a tray rather than on the floor, where a missing screw can turn a short repair into a parts search.
Use the drill only when the opening truly needs work. A hole saw can tear the outer veneer as it exits. Drill from both sides when enlarging a hole, and keep the bit level. If the bore is already the right size, leave it alone.
- A screwdriver that fits the supplied screws
- A tape measure
- A pencil
- A drill
- A correctly sized hole saw or spade bit
- A sharp chisel
- Safety glasses
- Painter's tape
- A clean cloth
- A level or straightedge if the strike position is unclear
How do you install a new deadbolt?
Use these steps for a standard replacement where the existing door and frame are sound.
1. Remove the old deadbolt
Open the door first. Never remove a deadbolt with the door closed unless you already have another safe way into the room.
Remove the interior screws and support the exterior cylinder as the lock halves separate. Pull out the latch from the door edge after removing its screws.
Keep the old parts nearby until the new deadbolt is fitted. They can show the original backset, expose a nonstandard opening, and provide a reference if the new latch does not match.
Do not pry against the door face or twist the cylinder with pliers. If the key is stuck, the lock is seized, or the door is under frame pressure, see how to free a stuck deadbolt without damaging it.
2. Preserve the existing boreholes
Compare the new lock and latch with the old opening. Confirm the backset, door thickness, face bore, and edge bore before inserting the new parts.
If the new deadbolt fits the existing holes, preserve them. Enlarging a hole removes material from the door and can leave the lock body loose.
If the opening is too small, mark the required change carefully. Use the correct bit size from the lock instructions. Do not guess based on the outside escutcheon, because the visible trim can hide a different body size.
Stop if the new hole would overlap the edge of the door, a glass panel, a reinforcement plate, or another lock. That is a door-prep problem, not a reason to drill harder.
3. Install the latch
Fit the latch the right way up as the installation sheet shows, with the UP/TOP mark on the latch housing, with the bolt retracted and the faceplate flush.
If the faceplate does not sit flush, its recess may need light chiselling. Remove only enough wood for the plate to sit flat.
Do not bury the latch face below the door surface. A deep recess can leave the latch loose and change the bolt position. Secure the latch with the supplied screws after checking that it moves freely.
4. Fit the exterior lock body
Place the exterior cylinder through the face bore. The tailpiece or spindle must pass through the slot in the latch.
Keep the cylinder straight while you fit it. If the tailpiece will not enter, check the bolt is retracted and rotate the tailpiece slightly to line it up with the slot in the latch, rather than pushing the lock body into place.
A tight fit usually means the backset, latch position, or door thickness does not match. Do not clamp the parts together with the screws. That can bend the latch and make the key hard to turn.
5. Install the interior body
Fit the interior lock body over the tailpiece or spindle. Hold both halves level while starting the screws by hand.
Tighten each screw evenly. Stop when the lock bodies are secure. Stripping the screws or crushing the door face does not improve security.
Test the thumb turn while the door is still open. It should extend and retract the bolt without scraping, springing back, or needing force.
6. Fit the strike plate
Close the door gently and mark where the bolt meets the jamb. The existing strike may be in the wrong position, especially in an older home where the frame has moved or settled.
Position the strike so the bolt enters the opening freely. The bolt should travel into solid framing behind the jamb. Screws that hold only the thin trim or a loose section of frame add little strength.
Use the supplied strike screws if they are suitable for the frame. If the strike requires different fastening, choose screws that reach sound framing without striking wiring, plumbing, glass, or another door component. Do not guess at hidden services inside the wall.
The strike must sit flat. A bent plate or shallow recess can push the bolt sideways and create the same symptom as a faulty lock.
7. Test the lock with the door open
Insert the key from outside and operate the bolt several times. Turn the interior thumb turn through its full movement.
Check these points:
Keep the door open during this test. A deadbolt that works open but binds closed has an alignment problem. Closing it repeatedly will not correct that problem.
- The key enters and withdraws without catching.
- The cylinder turns without excessive force.
- The bolt extends fully.
- The bolt retracts fully.
- The bolt does not drag against the faceplate or the edge bore.
- The interior thumb turn does not contact the trim.
- The lock body stays level and firm.
8. Test the closed door carefully
Close the door and check it rests in its normal closed position without lifting, pulling or pushing it, then throw the bolt and confirm it extends fully into the strike.
Then operate the deadbolt with the door closed. Extend it fully, retract it fully, and repeat the test from both sides. The key and thumb turn should work with steady hand pressure only.
If the bolt stops short, scrapes the strike, or requires you to pull the door into position, stop. Correct the strike or frame before relying on the lock.
Align the strike with the door frame
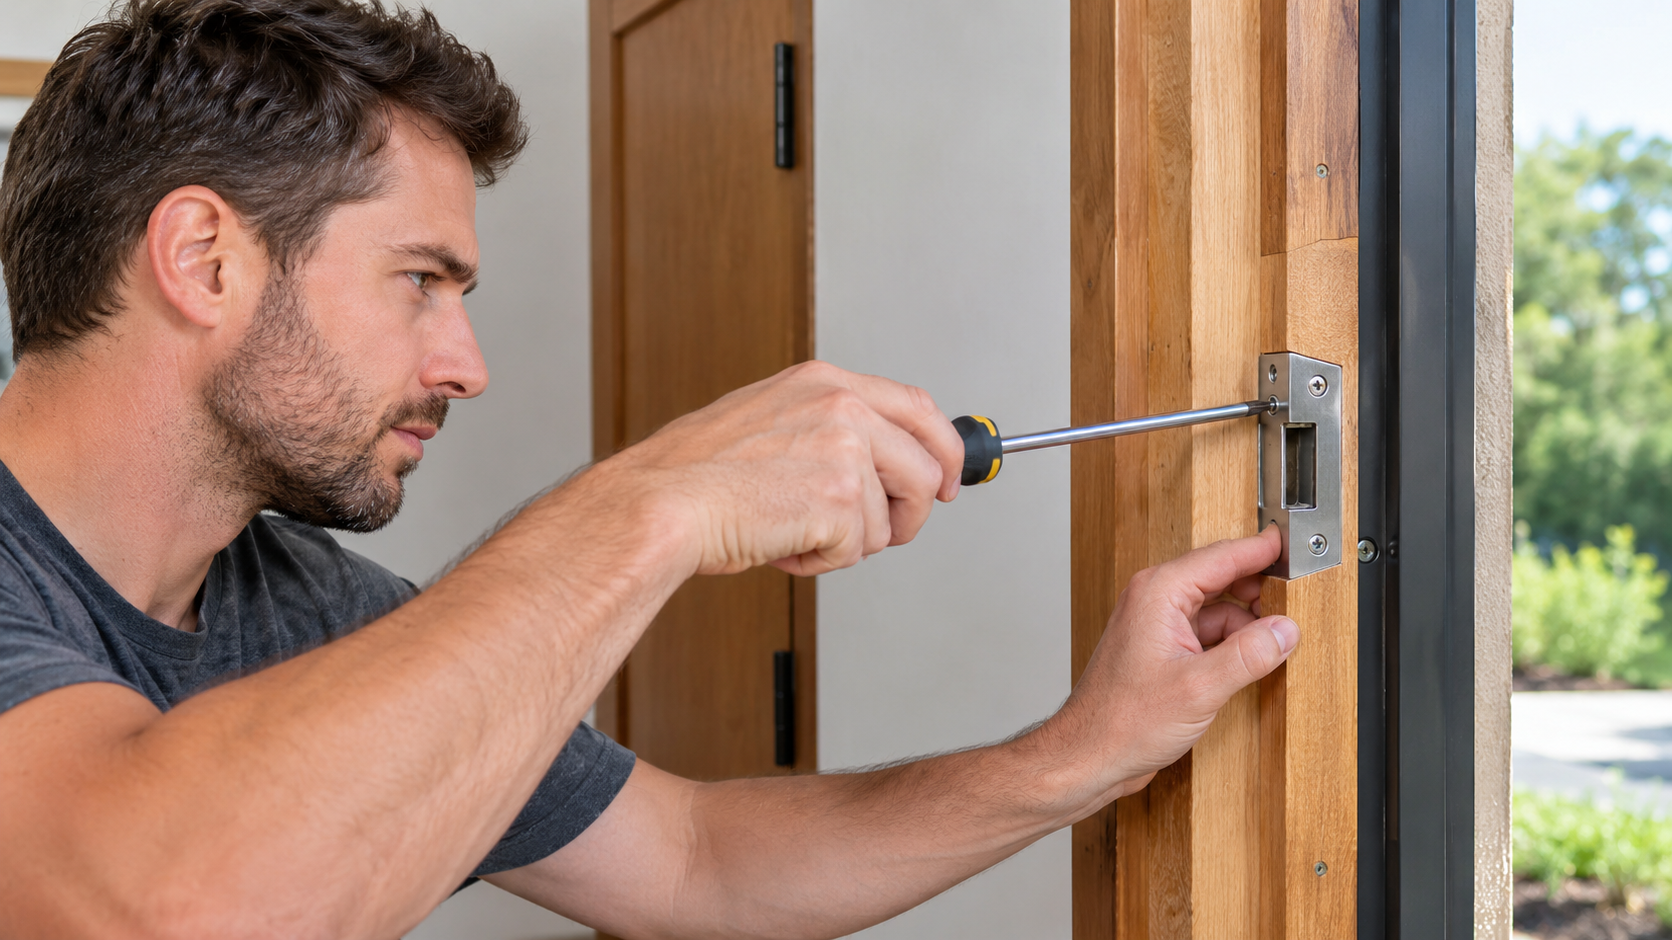
Strike alignment is a common failure point. The deadbolt may be fitted correctly while the frame has shifted, the hinges have loosened, or the weather seal is pushing the door sideways.
Check the gap around the door and watch the bolt as it approaches the strike. A mark on one side of the strike opening shows where the bolt is contacting.
Correct the actual cause:
Do not file away large amounts of the strike opening to hide a shifted door. That leaves a larger gap and may weaken the frame. A deadbolt should enter the strike cleanly with the door in its normal closed position.
- Tighten loose hinge screws if the hinge leaf has lifted.
- Adjust the strike if the bolt meets the edge of the opening.
- Recess the strike only enough for it to sit flat.
- Repair split or soft jamb wood before fastening the plate.
- Replace a bent or damaged strike.
- Check the door sweep and weather seal if they push the door out of position.
What should you do if the new deadbolt does not line up?
Treat resistance as a failure mode to diagnose. Do not overcome it with a longer turn of the key or extra pressure on the door.
A short bolt throw can come from a wrong backset, an incorrectly installed latch, a shallow strike pocket, or a door that is not sitting square. Scraping can point to a strike that is too high, too low, or too close to the latch edge.
Check the door open first. If the bolt works smoothly open but binds closed, focus on the frame and strike. If it binds while open, inspect the latch, spindle, screws, and lock body.
A loose frame needs repair before security hardware is added. A split jamb may require reinforcement or replacement. An oversized bore may need a repair plate or different hardware. These are fitting decisions, not cosmetic adjustments.
If you cannot identify the contact point, stop using the lock until it is corrected. Forcing it can bend the tailpiece, damage the cylinder, or leave you unable to retract the bolt.
When a locksmith should handle the installation
Use a locksmith when the door, frame, or lock system falls outside a straightforward replacement. A new lock will not correct damaged door prep or a lock you aren't authorized to change.
This includes:
A condo may require concierge access, property approval, elevator booking, or a technician sign-in. Those conditions affect the work before anyone removes the old lock.
For a standard home replacement, a residential locksmith can check the keyway, lock cylinder, latch, hinges, door prep, and strike alignment together. That avoids fitting a new cylinder to a door that still has the original failure.
- A damaged or split door
- A loose, hollow, or irregular frame
- An oversized or off-centre borehole
- A metal, composite, or fire-rated door needing special preparation
- A master-keyed or building-controlled lock
- A stuck deadbolt or seized cylinder
- A security system tied to access control
- An uncertain right to change the lock
- A failed drilling attempt
- A door that needs reinforcement before the strike can hold
Maintain the lock after installation
Check the interior mounting screws and the strike screws after the first few weeks of regular use. Seasonal movement can change the way a door meets the frame, especially in older homes.
Keep control of the keys. Remove old copies from circulation after a tenant change, sale, renovation, or contractor visit. Rekey the cylinder if the hardware is sound but the old keys should no longer work.
Use only the lubricant and maintenance method allowed by the manufacturer. Excess oil can collect dust inside the cylinder. Do not spray household cleaner into the keyway.
Test the deadbolt with the door open if it begins to feel stiff. Then check the closed-door alignment. If the lock works open but binds closed, repair the frame or strike rather than replacing the cylinder again.
FAQ
Common questions
Quick answers about this topic in Toronto and the GTA.
Can I install a deadbolt in a rental?
First confirm your lease and the landlord's approval rules. Do not drill or replace the hardware until you know who must approve the change and who keeps emergency access.
Should the deadbolt match the existing handle lock?
Matching the finish is optional. A matching key system can be useful, but it does not excuse an incorrect bore size, backset, door thickness, or latch fit.
Can I use a deadbolt on a door with glass beside it?
The glass changes the security and exit decision. A double-cylinder design can create a serious escape problem, while a single-cylinder lock may leave the nearby glass as a concern. Inspect the door layout and local requirements before choosing the cylinder type.
Why does the key work before the strike is installed but bind afterward?
The lock body is probably operating correctly. The strike is likely too high, too low, shallow, loose, or fastened into weak trim. Find the bolt's contact point and correct the frame before changing the cylinder.
More reading
Related guides
More step-by-step and how-to articles on the same topic.
How GTA Homes Avoid Smart Lock Installation Problems
A proper GTA smart lock installation starts with door fit, condo rules, battery planning, and backup access. Use this guide to avoid lockouts.
Read article Locksmith guidesRekeying or Replacing a Lock: How to Choose
Rekeying preserves a sound lock when key control changes, while replacement addresses damage, poor fit, outdated features, and security concerns.
Read article Locksmith guidesFree a Stuck Deadbolt Without Damaging It
Relieve door pressure, check the key and strike, lubricate safely, and know when a stuck deadbolt needs a locksmith instead of force or risky repairs.
Read articleReady for upfront pricing?
Describe your door or vehicle for a quoted range before a technician is dispatched.